Step By Step Guide To Installing CoverTrim
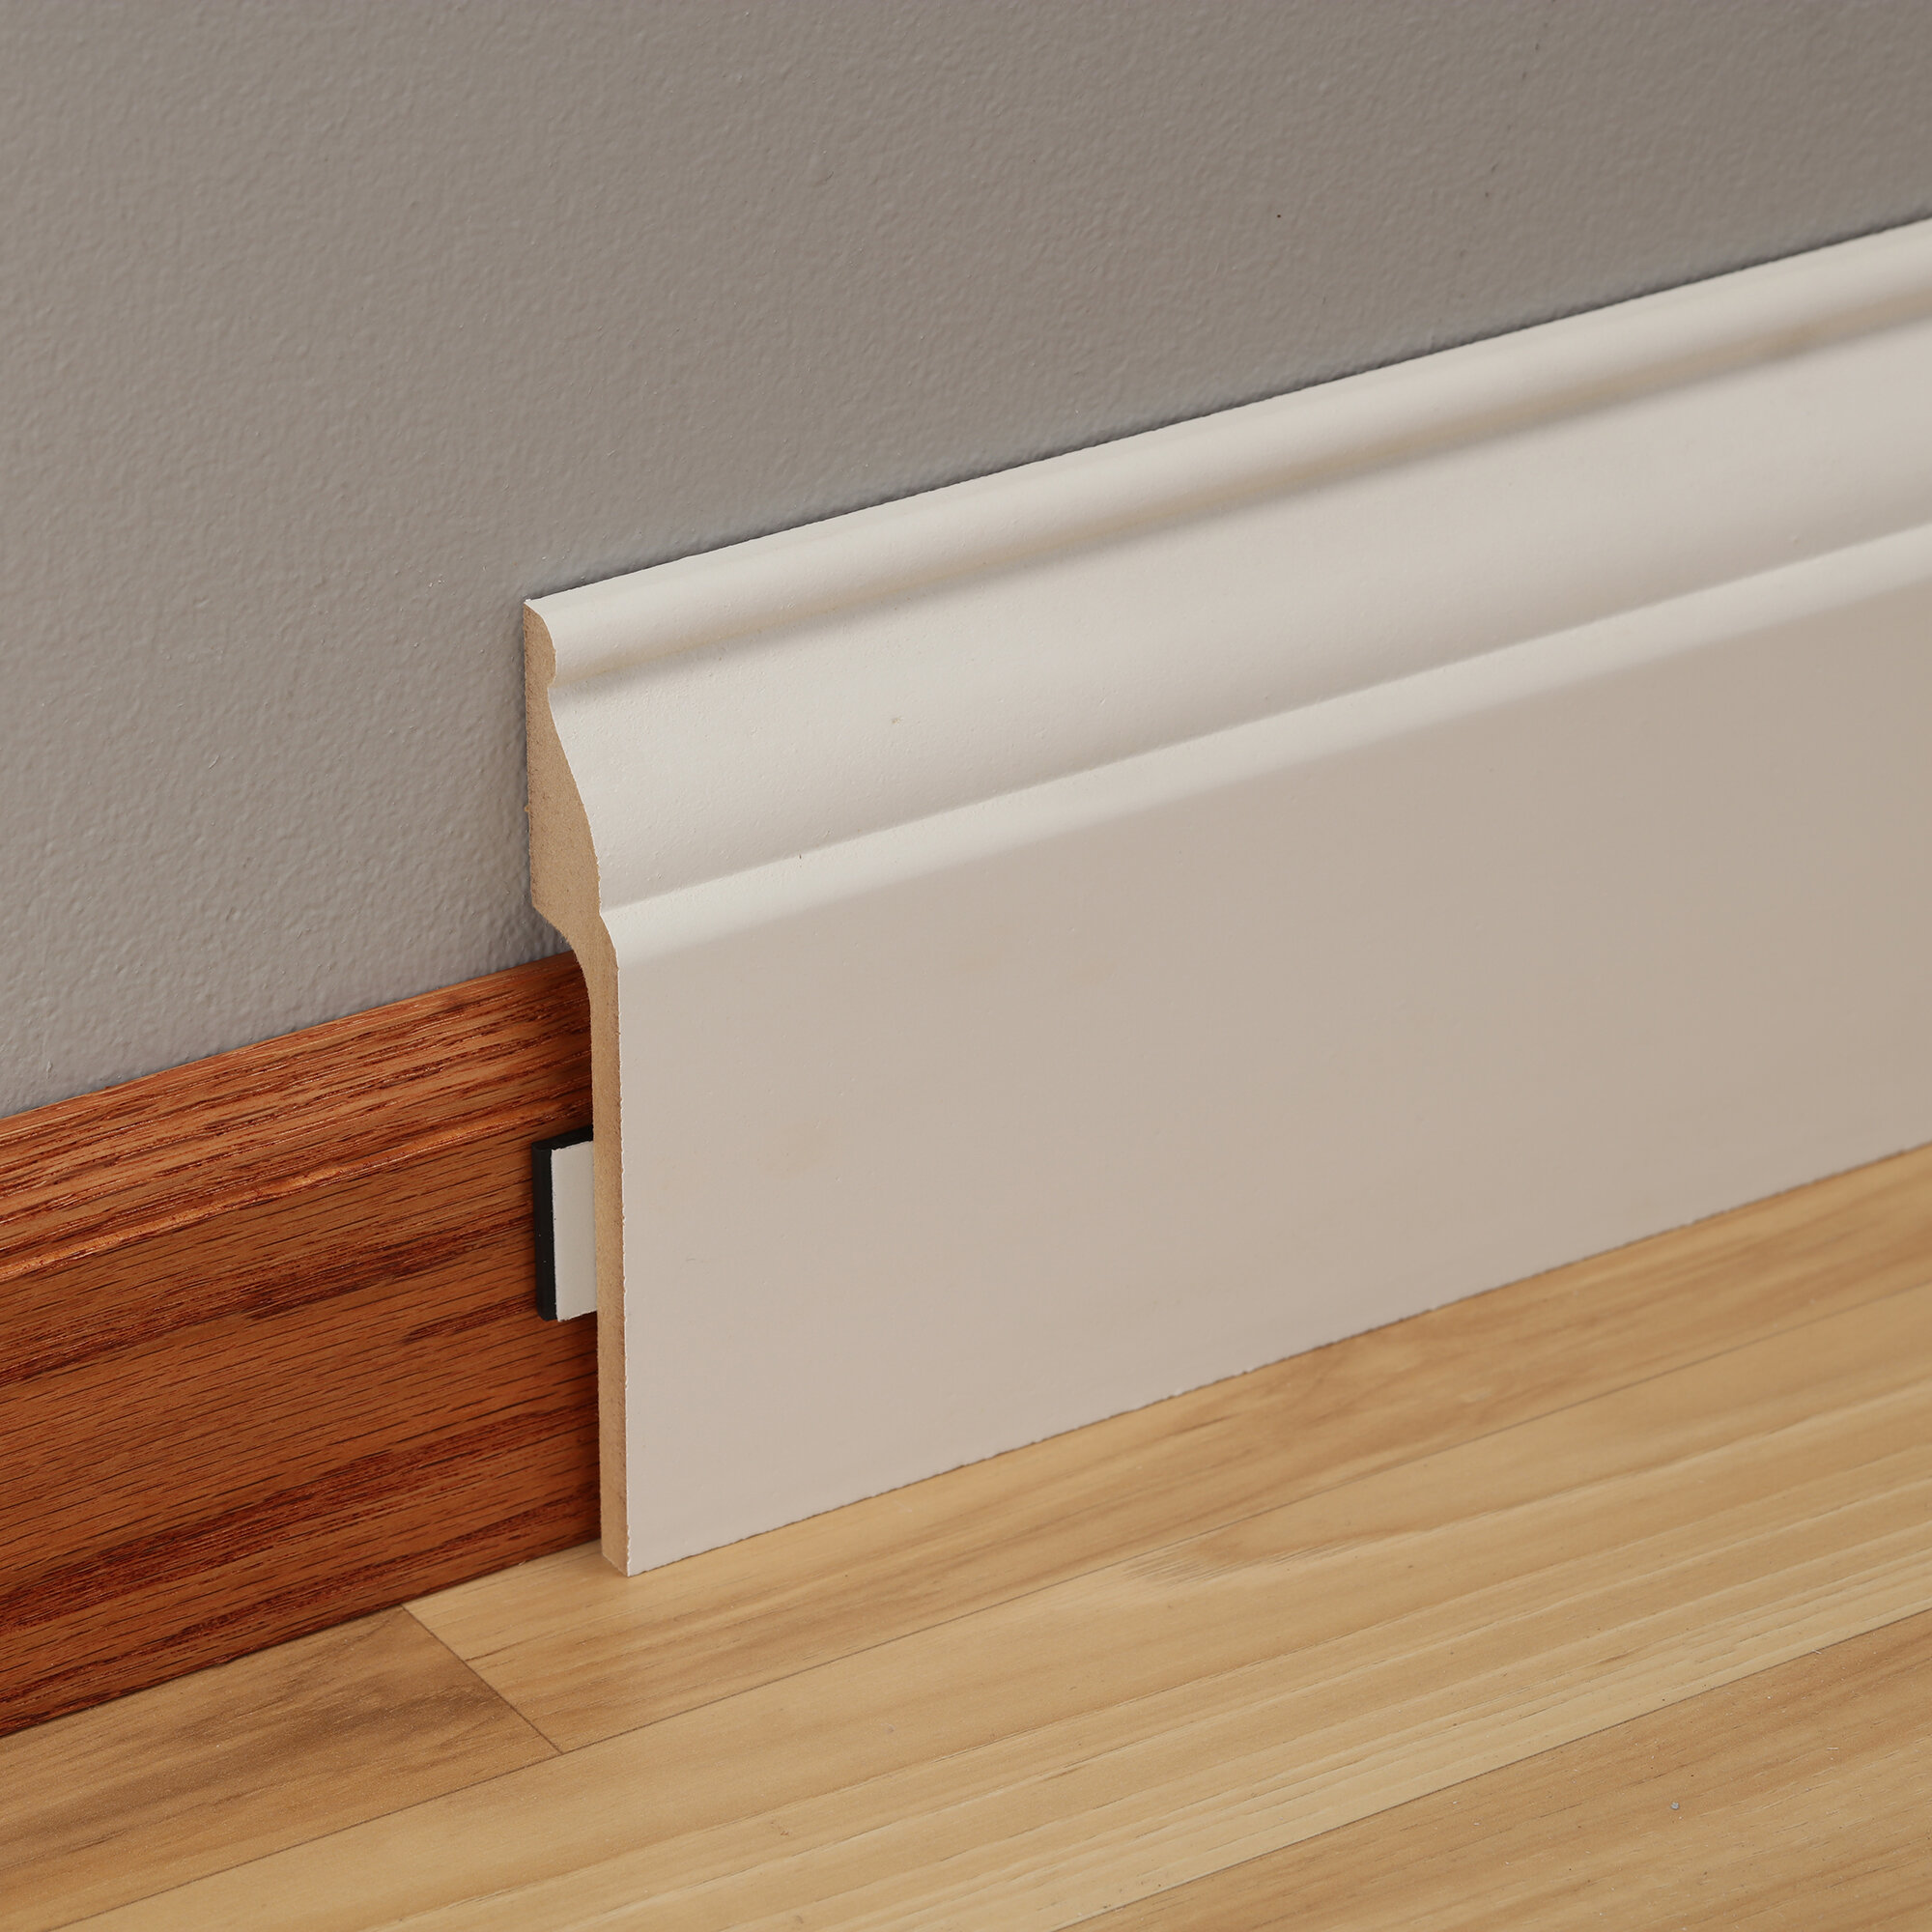
CoverTrim is the perfect solution for refreshing outdated trim mouldings or for those home improvement projects that require new flooring, wall paper, or paint without requiring additional mouldings like quarter round or shoe mould. Designed to install directly over top of your existing mouldings, there is no need to carefully edge new paint or wallpaper applications; your new CoverTrim mouldings will hide it all!
Primed and ready to paint, this trim covers any outdated trim with easy installation and transition blocks. Read on for the step-by-step guide to installing CoverTrim.
Block Installation
Transition blocks are used at the end of each trim section to create a seamless look. Install these blocks and transitions where your moulding runs into doors or gaps. Next, measure and cut the moulding sticks to fit between the installed blocks and transitions. Place spacers as needed and nail the moulding into place.

Mitered Installation
If you need mitered cuts instead of transition blocks, first measure the CoverTrim to fit in the space. Miter the corners, and place spacers as needed. Once the stick is cut to the correct length and mitered, nail the moulding into place. Caulk and paint the seams to complete the look.
Explore These Products
CoverTrim sufficiently covers existing base up to 9/16-in thick x 3-1/2-in tall for existing base with a curve or 3-1/4-in tall for existing square base. Plinth Blocks can be used with casing under 7/8-in thick, and Crown Covers existing crown up to 3-5/8-in.


Width: 5-1/2-in
Thickness: 7/8-in
length: 8-ft
Species: MDF
Use Location: Interior
Available at:
Home Depot
Wayfair